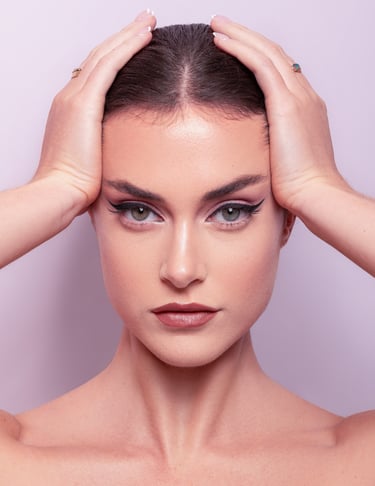
On Skin Texture
Series: How to take classic portraits
Dom Rui
7/29/20244 min read
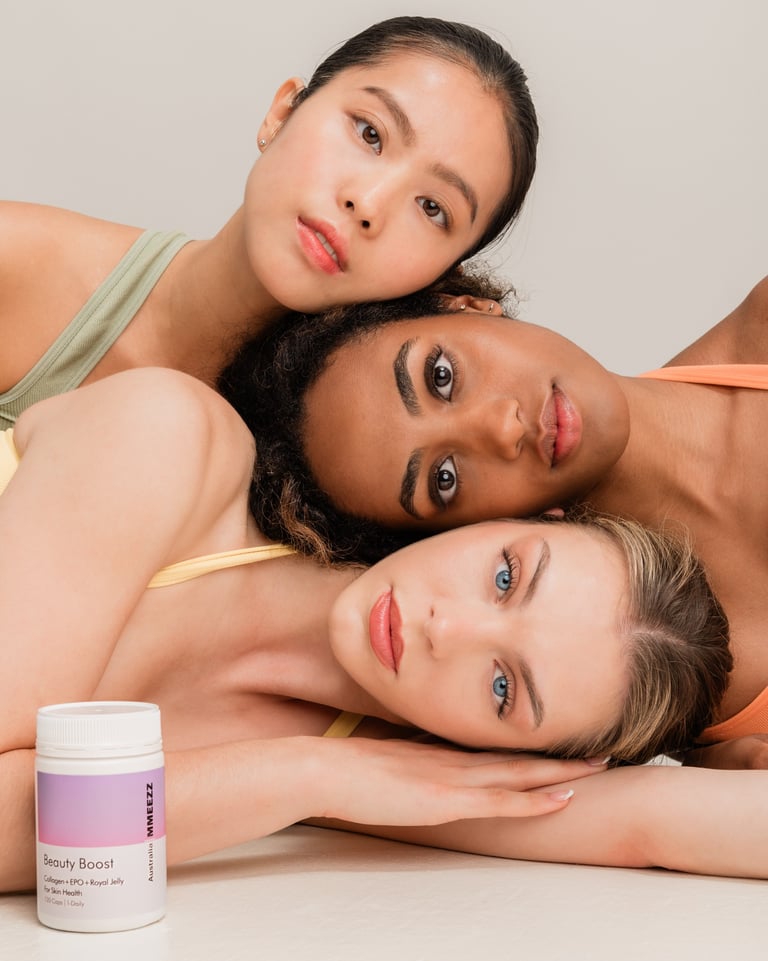
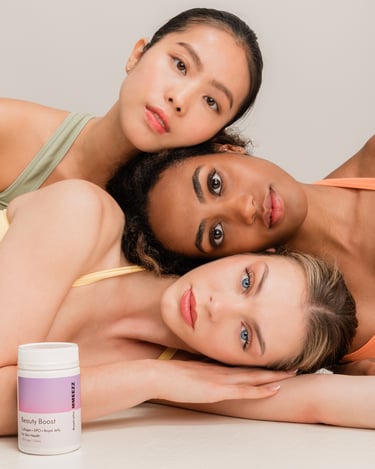
In a previous blog post I had mentioned my key focus when taking portraits is to ensure the portrait looks ‘human’. This may seem like an obvious thing to do, but a look at some of the trends on social media often have faces looking more like robots or plastic mannequins. In the pursuit of perfect portraits, the excessive air-brushed look can go too far, with skin that’s not only blemish-free, but also free of important texture, tones, and contrast (the core elements that provide mood and feeling to a portrait).
The irony of high-resolution digital sensors
Part of the reason excessive editing takes place, is an attempt to counter the detail from high resolution cameras. Whilst the pursuit of high megapixels and sharp lenses may benefit other types of photography (such as landscape or product photography), it can be counter-productive for portrait photography where every detail including wrinkles, pores, blemishes, and flaws are amplified. In an effort to soften this detail, photo editing software is used to smooth the skin. The higher the resolution of the image, the more smoothing is required which can remove detail to the point where you are left with skin that lacks texture and features.
Solution
Below are a number of ways to suitably soften the details from high-resolution sensors, whilst maintaining natural-looking skin texture:
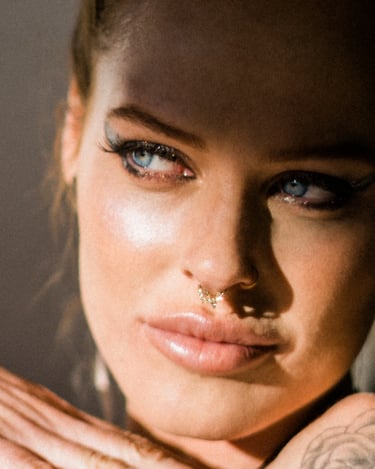
1) SKIN RETOUCHING- dodge and burn, healing tool, adjustments brush.


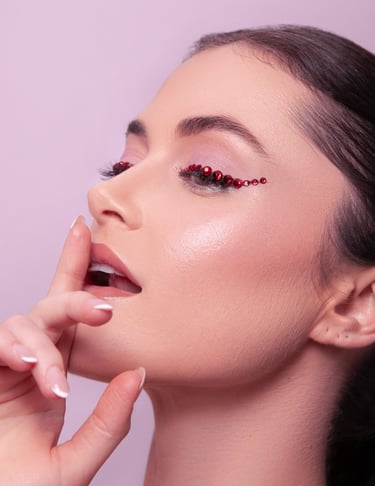

Skin retouching is the most accurate but labour-intensive way to edit skin tone and texture. I was speaking with one of the leading Make-up Artists in Sydney who said that when applying make-up, it takes more skill, time and effort to make a model look ‘natural’. On the other hand it is easy to simply slather on loads of makeup to hide blemishes, however you are left with a model that can look unnatural. It is similar with photo-editing where skill, time, and effort are required to properly retouch a portrait to maintain a natural human look, rather than simply applying filter-effects or decreasing clarity.
As skin retouching is manually intensive, I only use this for close-up portraits or beauty shoots.
2) DIFFUSION FILTERS


If you don’t like the idea of post-editing, then placing a physical diffusion filter in front of your lens is a great alternative. Popular filters include: Tiffen’s Pro-Mist, Glimmerglass, or Moment’s Cine-bloom, and they work similar to placing pantyhose or stockings over your lens. Their marketing departments will try to convince you otherwise, but they all essentially do the same thing: diffuse light rays thereby reducing detail in images. Again you can see the irony in that often photographers spend big to upgrade to higher resolution cameras, only to spend more money to decrease that resolution.


Above: A case in point, Cinebloom's current slogan is to "Take the edge off your digital sensor." (Screenshot from Moment Cinebloom's website).
I sometimes use a 1/8 strength diffusion filter for my outdoor portraits, but never in the studio where the combination with studio flash creates too many aberrations for my taste.
3) AI TECHNOLOGY
By this I am referring to ‘AI-powered’ features that simplify complex tasks such as facial recognition. I am not referring here to ‘AI-generated’ images which is something I know little about and care not to. Whether we realise it or not, most photo-editing software including Lightroom have been using AI-powered features for many years. It is only with recent improvements in algorithms (and probably marketing reasons) that these have been rebadged with the AI label.
Whilst not perfect, it can help improve efficiency in editing workflow. Facial and body skin recognition tools can automatically select and apply smoothing (clarity reduction) to skin, and batch edit across multiple photos. However often the AI removes too much skin texture. Sliders are in place to manually override and adjust the level of intensity. The aim here is to apply the adjustments slowly and incrementally- just enough to slightly soften away harsh lines or blemishes, but knowing to stop before skin begins looking unnatural.
I often use this for editing weddings or events where 1000s of photos require to be edited in short timeframes. For all other photography I prefer full control over my personal editing and artistic style.
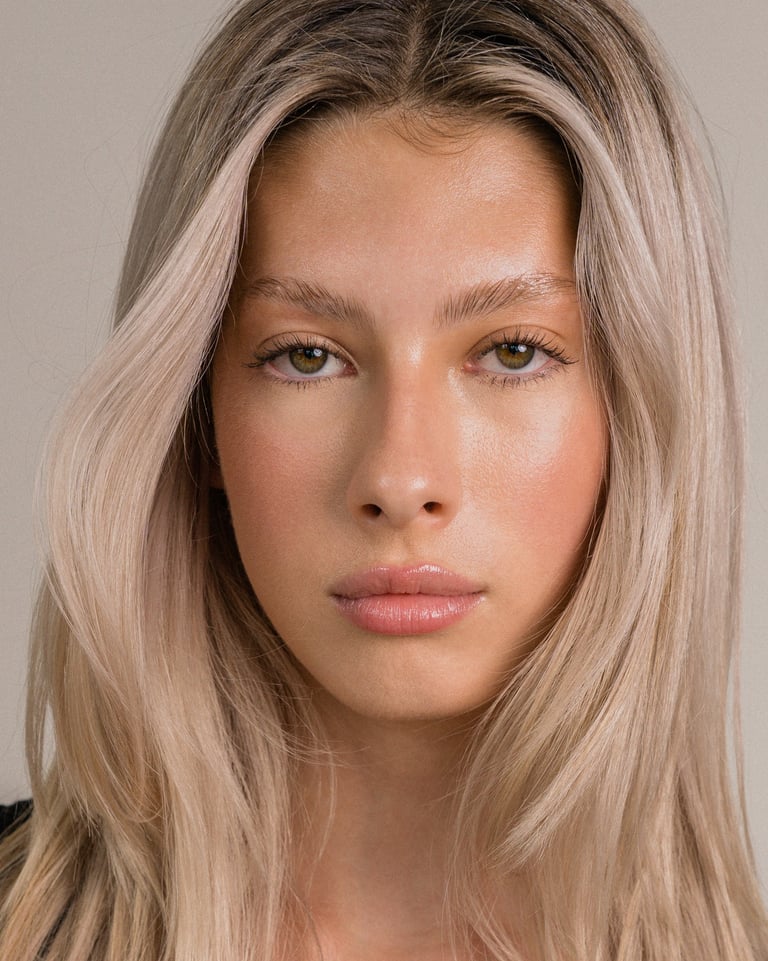
Natural skin texture
Each of the above solutions are designed to ‘remove detail’ from skin to reverse the effect of having too much detail. There is however one technique for capturing natural portraits that has never failed me. A way of capturing portraits without the need to then remove detail. A way which results in classic, natural looking skin tones and texture….
...Shoot Film.

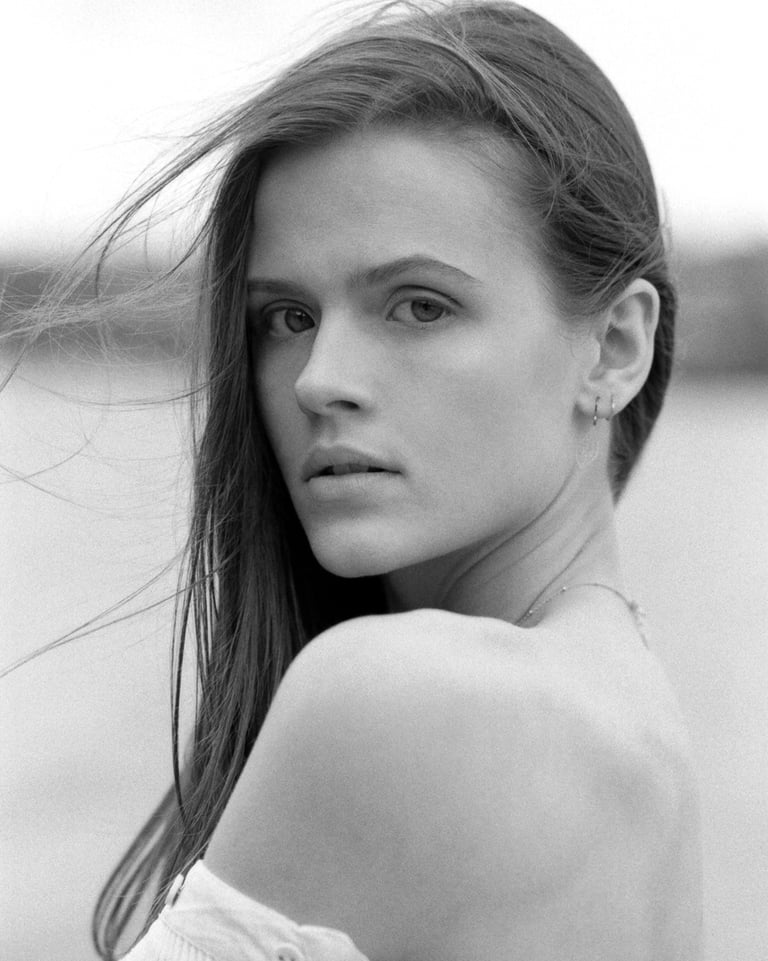

Shooting on film is a raw organic process. There is no conversion of images to 1’s and 0’s nor interpretation by a digital sensor of what the image should look like. With film, you capture a natural imprint of the image onto a physical negative. It keeps it real - like a direct reflection in a mirror. It never ceases to amaze me too how the natural grains hides away any blemishes.
